{
"@type": "Article",
"image": {
"url": "https://csuxjmfbwmkxiegfpljm.supabase.co/storage/v1/object/public/blog-images/organization-10884/1775178594719_Home-studio-ecommerce-photo-shoot-in-action.jpeg",
"@type": "ImageObject",
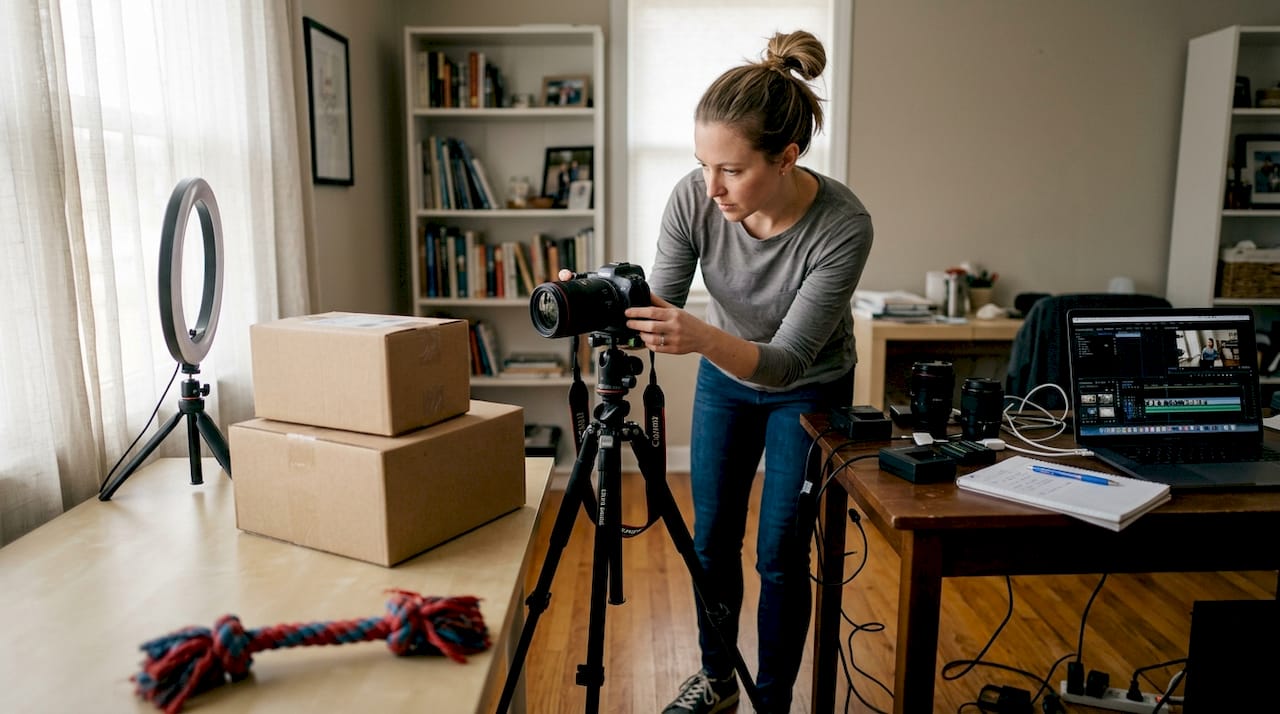
"caption": "Home studio ecommerce photo shoot in action"
},
"author": {
"url": "https://thinknectar.com",
"name": "Thinknectar",
"@type": "Organization"
},
"@context": "https://schema.org",
"headline": "Ecommerce photography guide: boost clicks and conversions",
"publisher": {
"url": "https://thinknectar.com",
"name": "Thinknectar",
"@type": "Organization"
},
"inLanguage": "en-US",
"articleBody": "Learn how to use product photography to drive higher conversions, reduce returns, and optimize your ecommerce listings across Amazon, Shopify, and Walmart.",
"description": "Learn how to use product photography to drive higher conversions, reduce returns, and optimize your ecommerce listings across Amazon, Shopify, and Walmart.",
"datePublished": "2026-04-03T01:09:58.258Z"
}
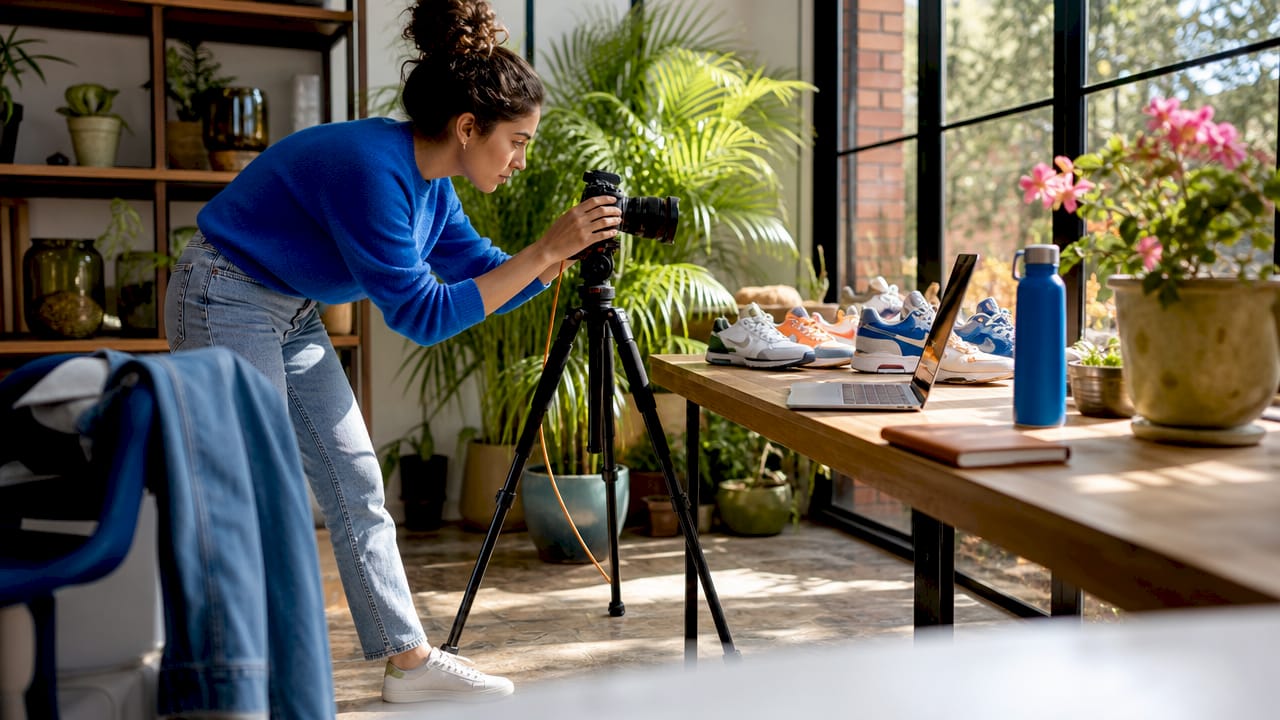
Ecommerce photography guide: boost clicks and conversions
.png)

TL;DR:
- High-quality images, including multiple angles and lifestyle shots, increase conversions and decrease returns.
- Scaling photo production requires a repeatable workflow, standard guidelines, and quality control.
- Choosing DIY, professional, or AI photography depends on product volume, budget, and speed needs.
Listings with 5-8 high-quality images significantly outperform those with fewer photos, driving higher conversion rates and fewer returns. Yet most e-commerce managers treat photography as an afterthought, a box to check rather than a revenue lever to pull. That’s a costly mistake. This guide gives you the criteria, decision frameworks, and workflow systems you need to produce product images that stop the scroll, earn the click, and close the sale. Whether you’re managing hundreds of SKUs on Amazon, Shopify, or Walmart, what follows will help you build a photography operation that scales and converts.
Key Takeaways
| Point | Details |
|---|---|
| Multiple images drive sales | Listings with 5–8 photos consistently outperform those with just 1–3, boosting conversion and reducing returns. |
| Match image types to channel | Use white backgrounds for compliance, and lifestyle/detail images for DTC conversion and brand experience. |
| Efficient workflows are vital | A practical, repeatable workflow ensures consistency and quality no matter your production method. |
| Consider cost and scale | DIY, professional, or AI methods each have pros and cons—choose based on your budget and listing volume. |
Defining great ecommerce photography: The essential criteria
Before you can improve your images, you need a clear standard to measure them against. Great e-commerce photography isn’t just about looking pretty. It’s about building trust fast, because shoppers can’t pick up your product. Every image has to do the work that a physical store experience normally handles.
The foundation is technical. Shopify recommends 2048x2048px square images, under 200KB for speed, with a 1:1 aspect ratio for clean grid display. These specs aren’t arbitrary. They protect your load times, keep your listings compliant, and ensure your images look sharp on both desktop and mobile. When quality sells, it starts with getting the basics right.
Beyond specs, you need the right mix of image types. Here’s what every listing should include:
- Main hero image: Clean white background, product centered, no distractions
- Multiple angles: Front, back, side, and top views to eliminate blind spots
- Detail and macro shots: Texture, stitching, material quality, fine print
- Scale reference: Show the product next to a familiar object or on a model
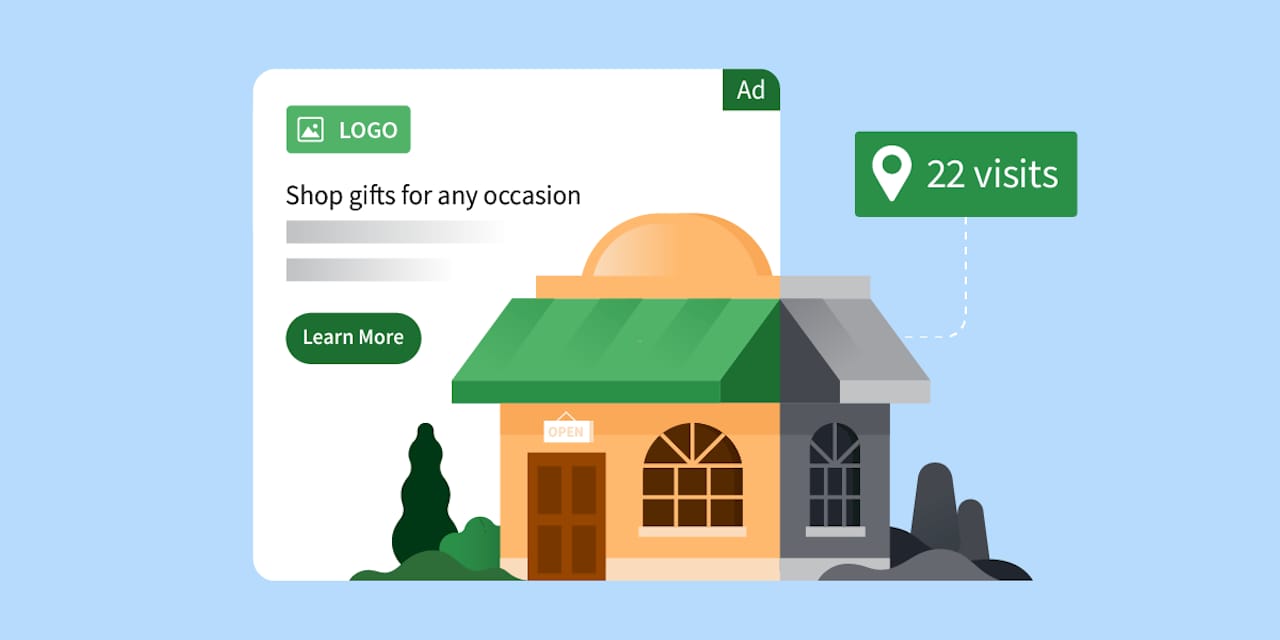
- Lifestyle context: Product in real-world use to help buyers visualize ownership
- Infographic overlays: Call out key features directly on the image
Multiple images don’t just look more professional. They reduce returns by up to 58% by setting accurate expectations before purchase. That’s a direct hit to your cost of fulfillment. When you’re [optimizing product listings](https://thinknectar.com/blog/why optimize product listings en), photography is often the single highest-leverage change you can make.
Pro Tip: Shoot in natural light whenever possible. It renders color and texture more accurately than artificial studio lighting, which means fewer “this doesn’t look like the photo” returns.
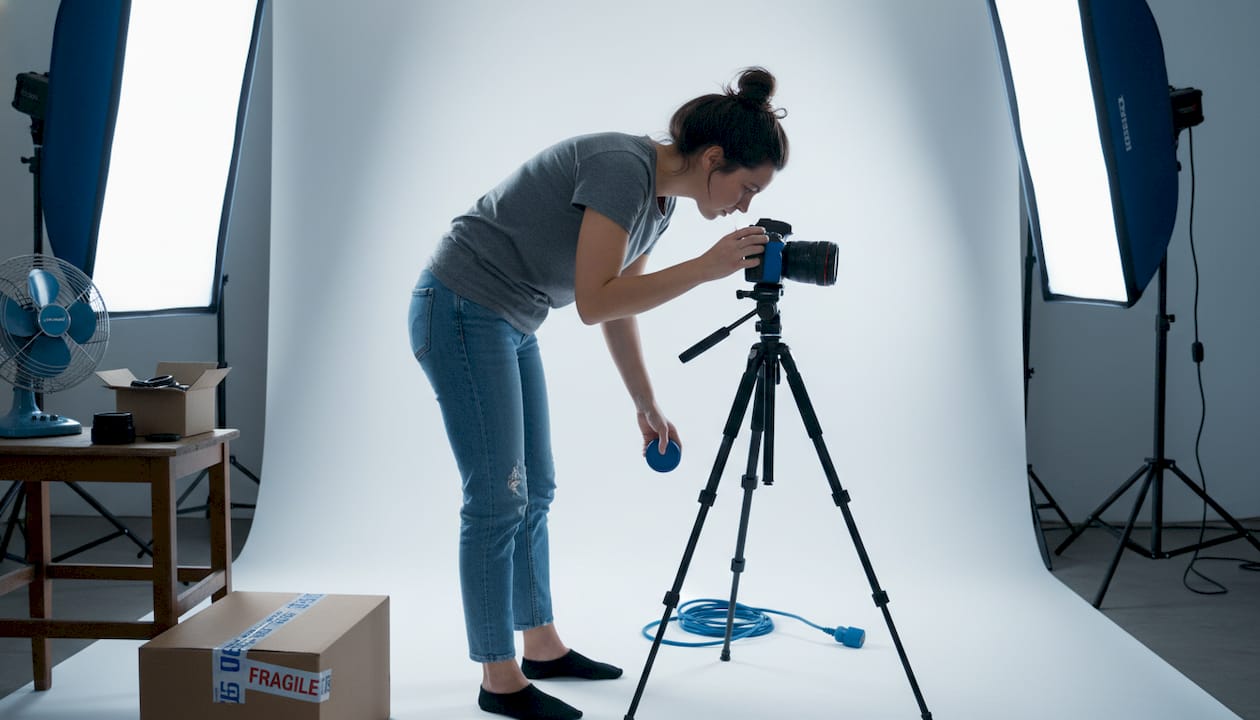
DIY versus professional versus AI photography: Choosing your best fit
Knowing what great looks like is step one. Step two is figuring out how to produce it at your brand’s scale, speed, and budget. There’s no single right answer here, but there is a right answer for your situation.
DIY is viable for low volume, professional studios scale better, and AI is emerging as a cost-efficient option for high-volume needs. Each comes with real trade-offs.
| Approach | Best for | Avg. cost | Key trade-off |
|---|---|---|---|
| DIY | Low SKU count, tight budget | Equipment only | Time-intensive, skill-dependent |
| Professional studio | Catalog refreshes, brand consistency | $7,500-$25,000 per 500 images | High quality, higher spend |
| AI-generated | Seasonal SKUs, fast turnaround | Fraction of studio cost | QC required for brand accuracy |
DIY gives you hands-on control and keeps costs low, but it demands real skill and significant time investment. If your team doesn’t have a trained photographer, the results will show. Professional studios deliver consistent, polished output that scales well for large catalog refreshes, but the costs add up fast, especially for brands refreshing imagery seasonally.
AI photography platforms are maturing quickly. They can generate backgrounds, lifestyle scenes, and even model shots at a fraction of traditional costs. The catch is quality control. For brand-critical hero images, AI still needs a human eye to catch inconsistencies in lighting, shadows, or product color accuracy. See how a new product photography overhaul can transform conversion rates when the right approach is chosen.
Your decision should hinge on three factors: product volume, available budget, and required speed to market.
Pro Tip: Pilot AI tools on seasonal or fast-moving SKUs before committing to large batches. It’s a low-risk way to test quality and workflow fit without putting your core catalog at risk.
Types of images that convert: Main, detail, lifestyle, and beyond
With your approach selected, the next question is: which specific image types belong in each listing, and in what order? This is where a lot of brands leave money on the table. They fill their image slots without a strategy, uploading variations of the same angle instead of building a visual story.

Listings with 5-8 images consistently drive optimal conversion. But it’s not just the number that matters. It’s the sequence and variety. Each image should answer a different question a buyer might have.
Here are the image types your listing must include, in priority order:
- Hero image (white background, marketplace-compliant, product fills 85% of frame)
- Secondary angle shots (back, side, top, bottom)
- Detail and macro shots (zoom in on materials, labels, connectors, finishes)
- Scale image (product on a model, next to a common object, or with dimensions labeled)
- In-use or assembly shot (show how it works, how it’s worn, or how it’s set up)
- Infographic image (feature callouts, comparison charts, or spec highlights)
- Lifestyle image (aspirational scene that connects emotionally with the buyer)
“The brands that win on marketplaces treat every image slot as a conversion asset, not a gallery. White backgrounds get you compliant. Lifestyle and detail images get you the sale.”
For marketplace listings, the hero image must meet platform rules. But on your own DTC site, you have far more creative freedom. Use it. [Make every image count](https://thinknectar.com/blog/the power of product images how to make every image count on amazon) by thinking about what objection each photo resolves. Understanding the full range of [ecommerce content types](https://thinknectar.com/blog/types of ecommerce content for brand growth en) helps you see where photography fits into a broader conversion strategy.
Workflow and optimization: Preparing, shooting, and delivering images
Great images don’t happen by accident. They come from a repeatable system. If your photography workflow depends on individual heroics or tribal knowledge, you’ll struggle to maintain quality as your catalog grows. Here’s how to build a process that holds up at scale.
Pre-shoot preparation:
- Clean and prep every product (remove lint, straighten labels, polish surfaces)
- Build a detailed shot list for each SKU before the shoot starts
- Gather all props, backgrounds, and reference images in advance
- Review creative services workflow best practices to standardize your setup
During the shoot:
- Lock in your lighting setup and don’t change it mid-session
- Maintain consistent angles using a shooting guide or marked floor positions
- Shoot more frames than you think you need. Editing is cheaper than reshoots.
- Shoot in RAW format if your equipment allows. It gives you far more latitude in post-processing.
Editing and post-processing:
- Crop all images to a 1:1 ratio before upload
- Compress files to under 200KB without sacrificing visible quality
- Color correct against a physical product reference to ensure accuracy
- Remove distracting backgrounds and retouch only what’s needed
Delivery and upload:
- Use descriptive, keyword-rich filenames (not IMG_4832.jpg)
- Write accurate alt text for every image for accessibility and SEO
- Double-check specs before uploading to avoid platform rejections
When you [optimize listings workflow](https://thinknectar.com/blog/why optimize product listings en) with a documented process, every team member and vendor can replicate results without constant oversight.
Pro Tip: Create a one-page visual style guide for your brand. It should cover lighting setup, background color, angle preferences, and editing standards. Share it with every photographer and editor you work with.
Why less is not more: Hard-won lessons for scaling ecommerce imagery
Here’s something we see consistently: brands invest in a solid initial photo set, hit a reasonable quality bar, and then stop. They declare the job done. That’s where the real opportunity gets left behind.
Adding more image types is a compounding factor. Each additional angle, detail shot, or lifestyle scene answers another buyer question and removes another reason to hesitate. Listings with 5-8 images outperform sparse ones not because more is always better, but because the right variety builds enough confidence to convert.
Most teams stop at “good enough” and miss critical touchpoints. They skip the scale shot. They don’t show assembly. They never capture the product in a real-world context. These aren’t nice-to-haves. They’re the images that prevent returns and resolve the doubts buyers won’t voice.
What separates brands that scale photography successfully isn’t the camera or the studio. It’s operational discipline. A documented workflow, a style guide, a QC checklist, and a clear brief for every shoot. We’ve seen a product photography case study where a structured overhaul of imagery, not a bigger budget, drove the conversion lift. The lesson: process beats heroics every time.
Take the next step: Supercharge your ecommerce strategy with Nectar
Putting this framework into practice across a large catalog takes more than good intentions. It takes the right creative infrastructure and data to back every decision.

At Nectar, our in-house photography, design, and videography teams work alongside our iDerive analytics platform to ensure every image we produce is built to convert, not just to look good. Whether you’re scaling on Amazon, building your Shopify storefront, or managing a cross-platform catalog, our brand growth services are designed to take you from strategy to execution without the guesswork. Let’s build a photography operation that compounds your results.
Frequently asked questions
How many product photos should I use for each listing?
Aim for 5-8 high-quality images per product. This range consistently maximizes conversions and reduces return rates by giving buyers the visual confidence they need to purchase.
What image size and format should I use for online stores?
Use 2048x2048px square images under 200KB with a 1:1 aspect ratio. This balances image sharpness with fast load times and keeps you compliant across major marketplaces.
Is AI-generated photography good enough for ecommerce listings?
AI-generated photos can work well for scalable, cost-efficient listing creation, but they require extra quality checks to ensure brand consistency, especially for hero images and color-sensitive products.
Do I need lifestyle photos or just white background images?
You need both. White backgrounds are required for marketplace compliance, but lifestyle and detail images on your own site drive significantly better conversions and a richer customer experience.
Recommended
- Nectar Blog | Product Photography for Ecommerce: Why Quality Sells
- Nectar Blog | Crafting Compelling Ecom Ads: Techniques to Drive Click-Through Rates and Conversions
- Nectar Blog | How videography drives ecommerce sales and customer trust
- Nectar Blog | Role of Creative Services in Ecommerce Success
- Types of 3D models: choosing the best for ecommerce


.png)


%20(1).png)